Monday, October 8, 2012

Thanksgiving Dessert


 I haven't blogged in a while, and, the food was good enough yesterday that I forgot to take pictures until dessert! So, as opposed to a overview of yesterdays food, I'll give you the recipe for the dessert!

What you see plated is a Raspberry and Peach in Prosecco Tart with Maple Whip Cream, Pumpkin Ice Cream, and a bowl of mixed fruit (also in Prosecco).

Recipes:

Raspberry and Peach in Prosecco Tart with Maple Whip Cream

Peel and cube 3 peaches and place in a bowl.
Add equivalent amount of raspberries (or any berry)
Add 1/4 cup of sugar and gently mix.
Add 1 250ml bottle of prosecco (or other sparkling wine)
Let sit for 4 hours in fridge or overnight.

Meanwhile, bake tart shells according to instructions on package.

Maple Whip Cream

Put 1 cup of whipping cream in a mixer. Whip for 3ish minutes until soft peaks form.
Add 1 1/2 tbsp of icing sugar and 1tsp of maple extract.
Whip for a minute or so more until hard peaks form.

Putting it all together:

Take the baked (and cooled) tart shell and place a little whip cream in the bottom. Arrange a few berry and peach cubes on top. Add a little more whip cream and garnish with a sprig of mint, and a little grated chocolate (see below).

Pumpkin Ice Cream

This is a very basic recipe:
Take 2 1/2 cups of whipping cream and 1 1/2 cups of whole milk. Add 1 cup of brown sugar, and mix on low until sugar is dissolved. Add 2 cups of pumpkin puree (spiced) and 1 tsp of vanilla extract mix until incorporated. If using real pumpkin or unspiced mix add cinamon, ginger and nutmeg to the ice cream. Taste until it's what your looking for.
At this point, you can freeze it in an ice cream maker, OR you can add a lot of rum and make pumpkin nog. Alternatively (if you don't have an ice cream maker) you can mix in about 1oz of alcohol (like Grand Marnier...) and freeze in the freezer. You'll need to take it out a few times as it's freezing and mix it again. This will keep large ice crystals from forming, and the alcohol keeps it a little softer.
Serve it with a little maple syrup drizzled over top, and some grated chocolate. I used 5 Chili Chocolate, a mix of 5 chilis, achiote, and sea salt.


Tuesday, August 28, 2012

Lemon Honey Ginger Tea "Marmalade"

I saw a photo of this on Facebook this morning, so, after getting my roast in the oven, I decided to make it!
This is deceptively simple, and a great idea to have ready to go in the fridge for those days when you've got a sore throat, or just aren't feeling well. At its most basic what you are making is a 'marmalade' of lemon, honey, and ginger? If that sounds familiar, it should, it's the same thing that you make as a tea when you're sick! But, who wants to spend the time doing that when you're sick? I know I don't. So, make this ahead of time, keep it in the fridge and add a teaspoon or two to a glass of hot water and mix.

For this you'll need:
- 1 lemon
- a 1"x1" piece of ginger root (after peeling)
- honey (local is best)
- an 8oz jar (or 250mL, or 1 cup)


Slice the lemons fairly thin, removing the ends, but keeping the rind on the rest of the lemon. Remove the seeds and then cut in quarters.
Slice the ginger very thin. You should be able to get about 12 pieces or more out of the 1" cube of ginger.


Once everything is prepared, pack the jar with a layer of lemon, then ginger, and top that with some honey. Let that settle a little bit. Then add another layer of lemon, and ginger, and honey. Keep doing this until the jar is full (or you're out of lemon and ginger). Make sure the lemon and ginger are fully submerged in the honey.
I actually filled the jar and then added the honey. I think this was a mistake since it took a while for the honey to make it down to the bottom and needed the use of a chopstick to move the pieces around so that the honey could penetrate the mix. It was just a little harder and messier than it needed to be!


Leave it on the counter for a few hours, tap the jar or roll it around a little bit if there is air trapped below the honey. After a few hours, check to see if you need to add any more honey. If you don't, then go ahead and hide it in the fridge for a few weeks at least. Eventually the lemon and ginger will break down forming a marmalade like substance.

Add a teaspoon of that to hot water and you have an 'instant' tea for illness.

Friday, August 17, 2012

What Did I Capture...

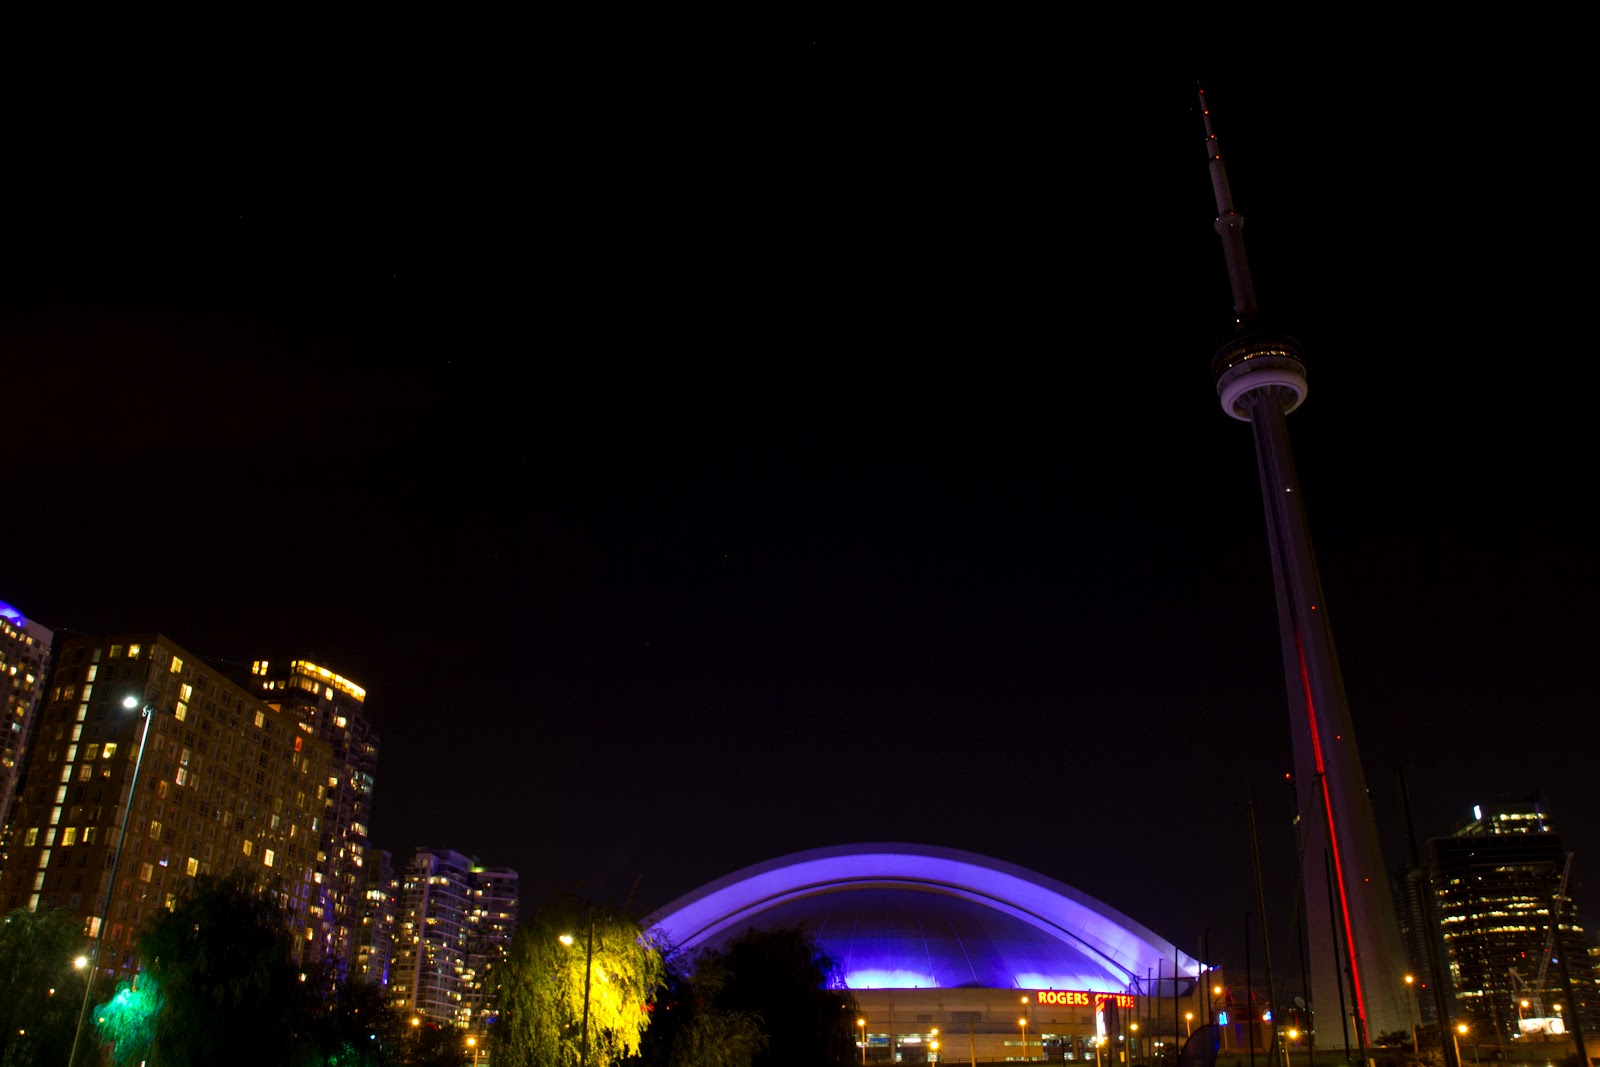
On the night of August 12th, I went out to see if I could shoot the meteor shower over the City of Toronto. I didn't even see a single meteor that night before the clouds came in, but I did see 'something'. EXIF data shows that the photo below was taken at 11:03PM, though, I tweeted what I saw at 11:02PM (so, 11:01 - 11:02PM is a likely timeframe). The photo was shot from about 10 feet from the waters edge adjacent to the H20 'beach', shot north over the Skydome.
This was a 10 second exposure, and the light 'flash' lasted approximately 5 of those seconds.

What I saw was what appeared to be a light, growing in intensity, then snapping out. There was no visual movement across the sky, it stayed in the same place. Note, it MAY have been moving, just not visible as such to the naked eye. I've seen something similar to this before, being close to the flightpath of the Island Airport, it's looks similar to a plane coming at you head on, barely being able to see it, then it gradually getting brighter. However, you can see some movement in the airplane headlights that was NOT visible with this.

Photo 1 - Full Shot of Location. (If anyone wants a reference, the CN Tower is 1815' 3" tall)
(Click for Larger View)


Photo 3 - Reference shot, taken immediately after previous photos.

(Click for Larger View)


If you think you know what it is, please leave a comment.

EDIT- Here's a 'better' view of it's location in relation to the stars. The object in question is the white object to the North East of the bottom of the Big Dipper, just to the North East of the smaller reddish star.

EDIT 2 - Removed photo 2 to avoid confusion.

Thursday, July 26, 2012

Smoking in the Oven Part 2

I decided to do this in two parts to keep each one shorter.

When we last met, we were waiting 4 hours for the ribs to smoke in the 175f oven.

After 4 hours, the ribs should look like this. Because this was done in a 'smoker' that didn't allow the smoke out, it kept the ribs moister as well.

Transfer the ribs to a baking sheet.

 
Baste the ribs in sauce. No, I won't give you the recipe for the sauce.
Move the rack up in the oven.

Place the ribs back in the oven, under a 500f broiler this time. Baste the ribs with sauce every 5 mins or so, turning once over 20 - 25 mins. 

 Ribs!!!
Eat!!

PART ONE

Smoking in the Oven

If you're like me, you like smoked foods. Not chemical flavouring, but REAL smoke. And, if you even more like me, you don't have any place to do it. But fear not, you do have a place where you can control temperature to the degree that you need for smoking. Your home oven. Now, this isn't traditional smoking where you use a lot of smoke chips and create a lot of smoke to bathe the meat in. There is very little actual smoke produced during this, but since it's all captured, you don't lose much smoke.


What you need:
- Dutch oven
- Pan that fits tight in the bottom of the dutch oven
- Screen that fits over the pan
- Smoke chips (small handful, you don't need a lot)
- Brulee torch (possibly)
- MEAT!

 Heat the dutch oven over medium heat.


Take it off the heat after its almost hot, about 5 minutes on medium heat.
Add the wood chips and spread them out, use a spoon as the pan will still be hot.
If you wish, you can use the brulee torch to start some of the chips on fire. This step is not necessary, so if you don't have a torch, don't worry.

 Put the pan in the bottom of the dutch dven. This will catch any drippings from the meat, protecting the wood from getting wet.

Add MEAT!
Make sure there is room around it for the smoke to flow. This is probably just a little too much meat.

 Put it back on medium heat until you can see a little bit of smoke coming up from around the drip pan. If you don't see any after about 5 minutes, increase the heat a little bit.
You don't want it really smoking, just a gentle smoke.

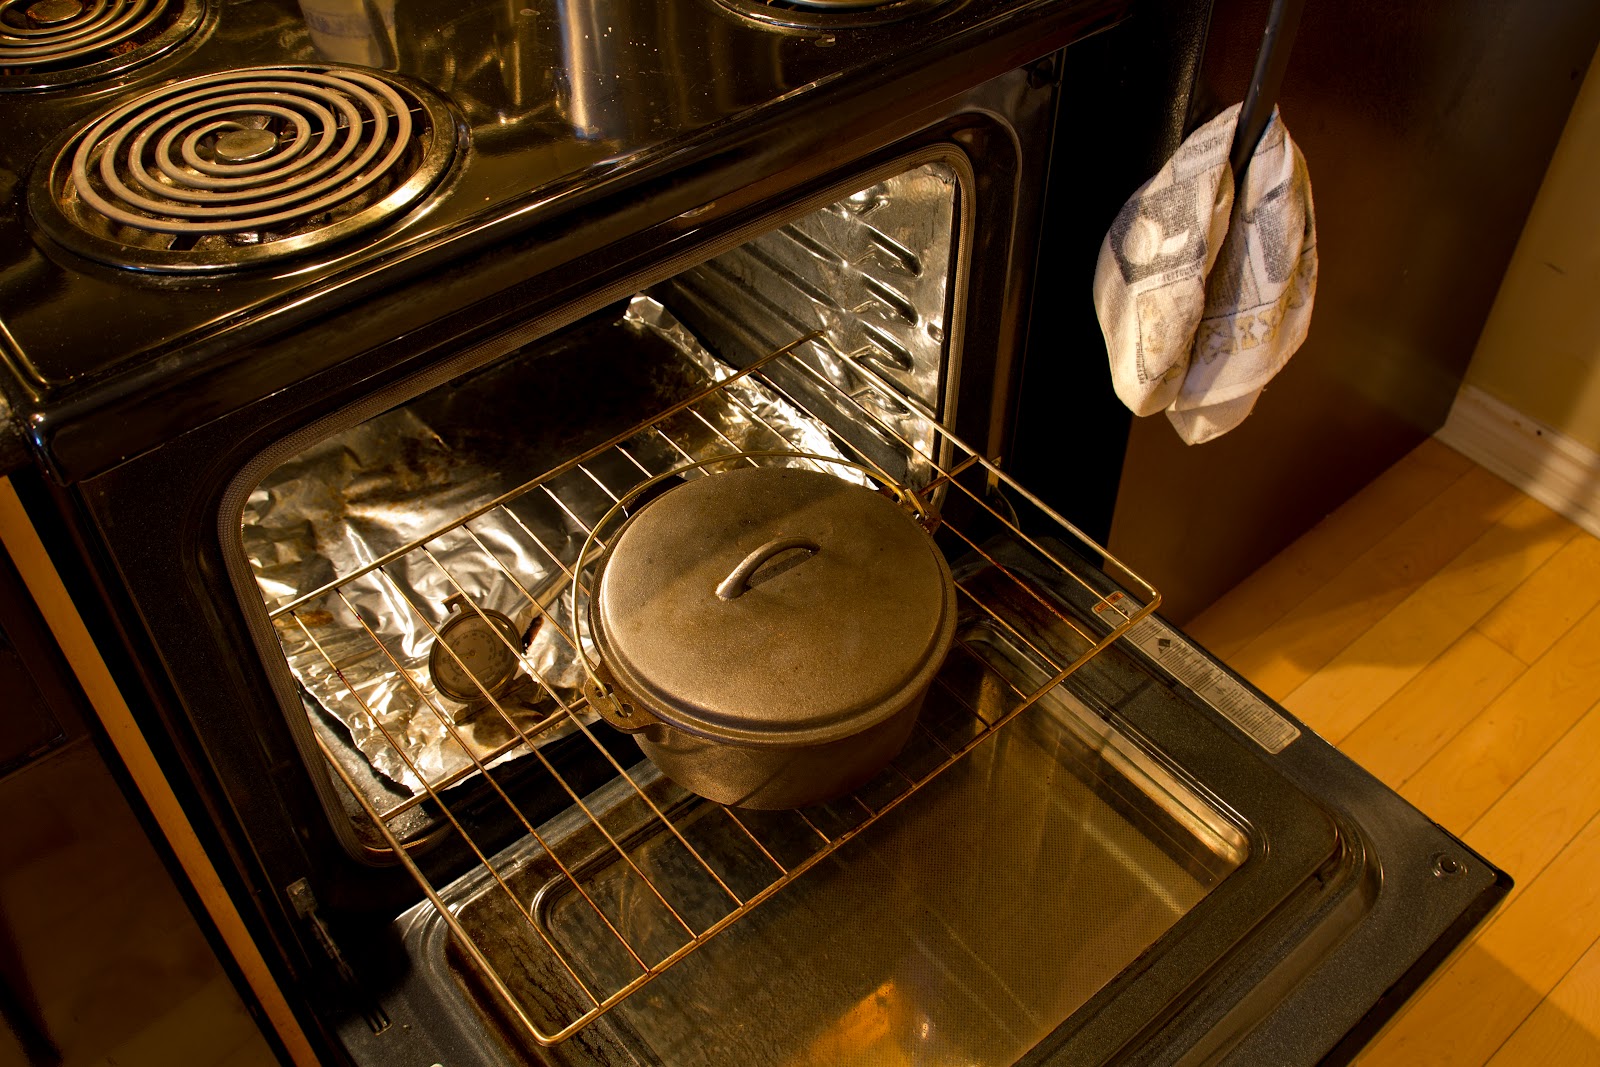
Put it in the oven preheated to 175f. for 3 or 4 hours.

PART TWO


Wednesday, July 25, 2012

Street Pizza!

So, I was wandering around downtown yesterday and I came across this: a wood burning pizza oven on the sidewalk. I love a good pizza, and there is nothing better than pizza cooked in a real wood burning oven. Unfortunately they were packing up when I came by. so I didn't get a chance to have any, but next Tuesday, I'll be there!


You can find this oven at King and Spadina every Tuesday from what I understand.
More info at www.pizza700.ca
So, today was the day that Pat Tabler and Buck Martinez took to the sky high above the Rogers Centre to raise money for charity. Here's a few (bad) shots that I got from my window. I'm pretty certain based on timing that this is them. Still, not bad from over 2000' with only a 200mm lens.